

Swedish Oven Pancakes were a sign in our house growing up that it was going to be a great day. My sisters and I would plop down in front of the oven and watch them rise and bubble, and then dramatically mourn when they deflated the second my Mom pulled them out. Strawberries, way too much syrup, and full bellies every single time. Now I make them for my own family, gluten free flour and all, and they hold up exactly the same way.
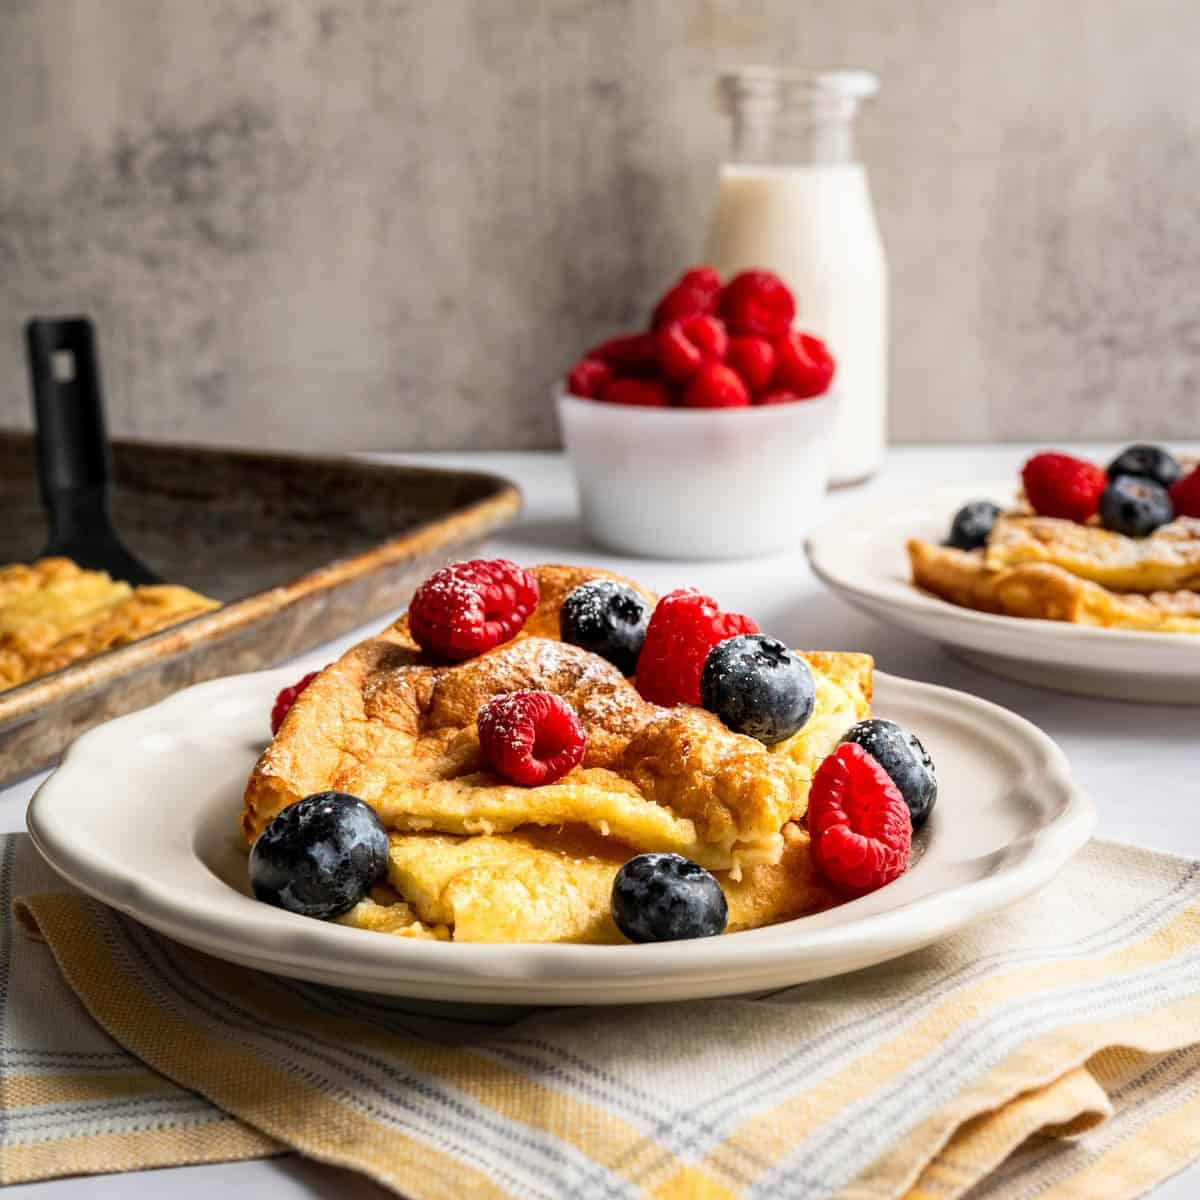
My mom made these with regular flour, and now I make them with Bob's Red Mill 1-to-1 gluten free flour. I cannot tell the difference between the two. Winning.
These regularly show up on our weekend menu when slow mornings are not happening, which in our house is most weekends. Breakfast for dinner is always a huge hit, and the best part of this version is that the oven does the work while I actually get something done. Batter goes in, timer gets set, and I start the to-do list.
When they come out, everyone customizes their own plate. Some go all berries. Some go heavy on the maple syrup. Some eat them straight from the pan and throw all caution to the wind. If you love these, you might also want to check out my Gluten Free Swedish Thin Pancakes for the stovetop version on the days you have a little more time and patience.
Jump to:
Why You'll Love This Recipe
- One pan feeds six people - no eating in shifts
- Crispy golden edges with a soft, custard-like center
- Ready in under an hour with only 15 minutes of prep
- Easily made gluten free and dairy free
- No flipping, no griddle, no standing at the stove
What You'll Need

- Eggs - Four large eggs give this swedish oven pancake recipe its structure and that signature custard-like center. The egg-to-flour ratio is what separates this from a regular sheet pan pancake - more eggs means more lift and that tender, almost creamy middle.
- Milk - Use whole or 2% milk for the best texture. Skim milk does not give you the same richness. Lactose-free milk is what I use most often and it works beautifully. Unsweetened almond milk is also an option.
- Butter - Two tablespoons go into the batter and three tablespoons go on the pan. Do not skip the butter on the pan. That is where the crispy edges come from, and the crispy edges are the whole point.
- Flour - All-purpose flour is the classic choice. For a gluten free version, use Bob's Red Mill 1-to-1 in the blue bag. Same measurement, same great result.
- Sugar + Salt - Just a small amount of each. The sugar adds the tiniest bit of sweetness and the salt balances everything out.
See the recipe card for the exact measurements and complete instructions.
Step-By-Step Instructions

Step 1: Preheat the oven to 400 degrees F. In a large mixing bowl, crack open the eggs and whisk until foamy.

Step 2: Add the cooled melted butter and milk. Whisk until combined.

Step 3: Add the flour, sugar, and salt. Whisk until combined and no lumps remain. Rest the batter for ten minutes. If you are using gluten free flour, do not skip this step - it makes a real difference in the final texture.

Step 4: Grease a rimmed baking sheet generously with softened butter and nonstick cooking spray. Pour in the batter and place in the preheated oven.
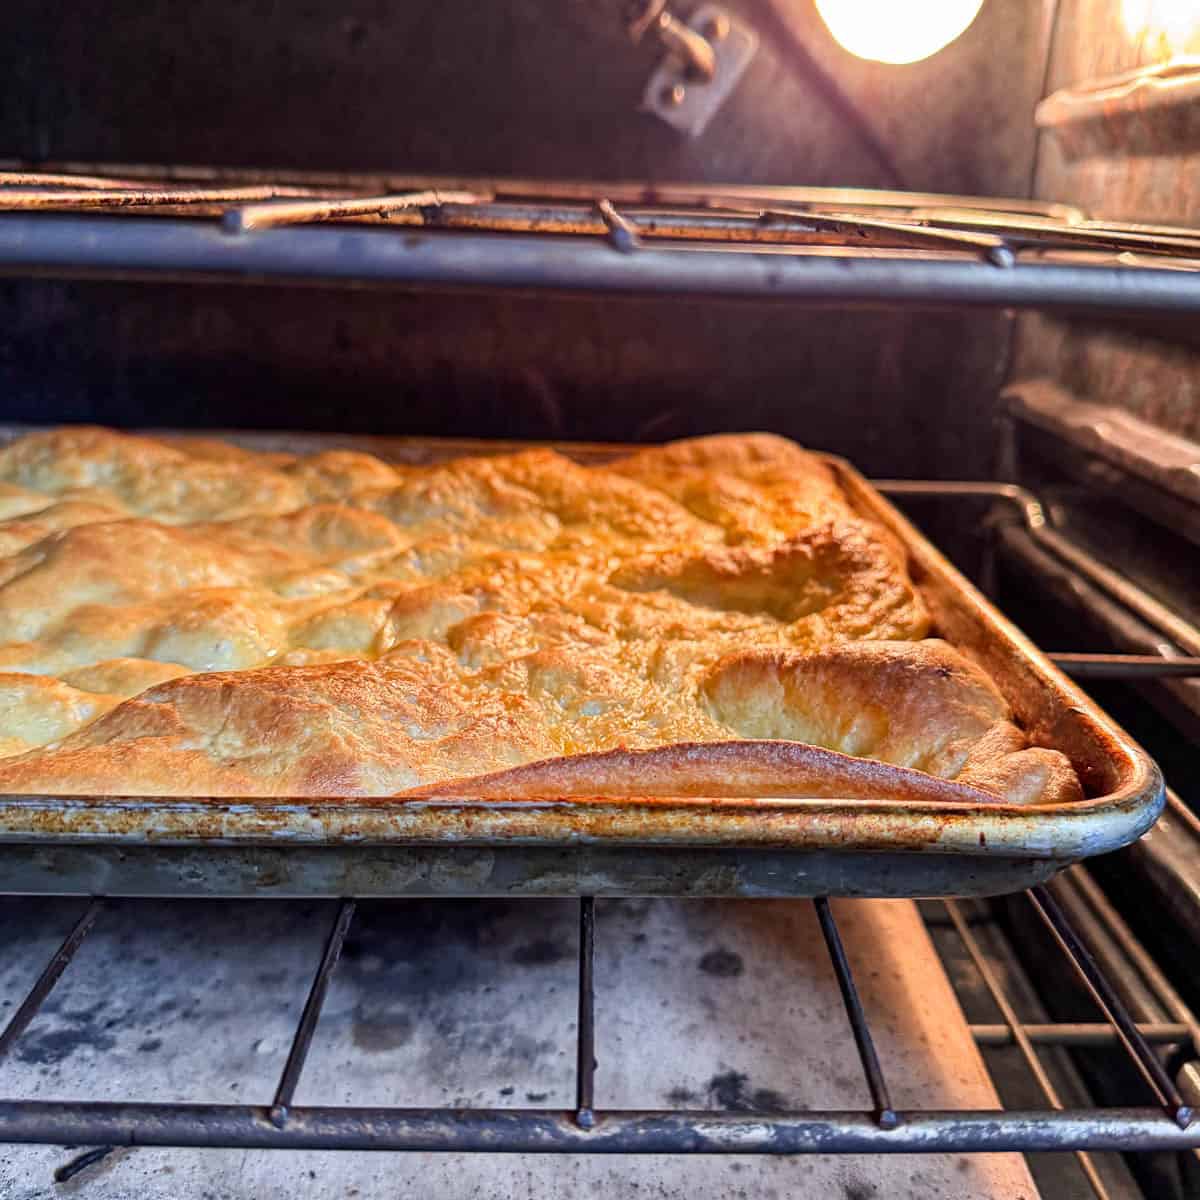
Step 5: Bake for 25-30 minutes or until golden brown. This is the part my kids loved to watch, the same way my sisters and I did growing up. It bubbles up and turns a beautiful golden brown right in front of you.
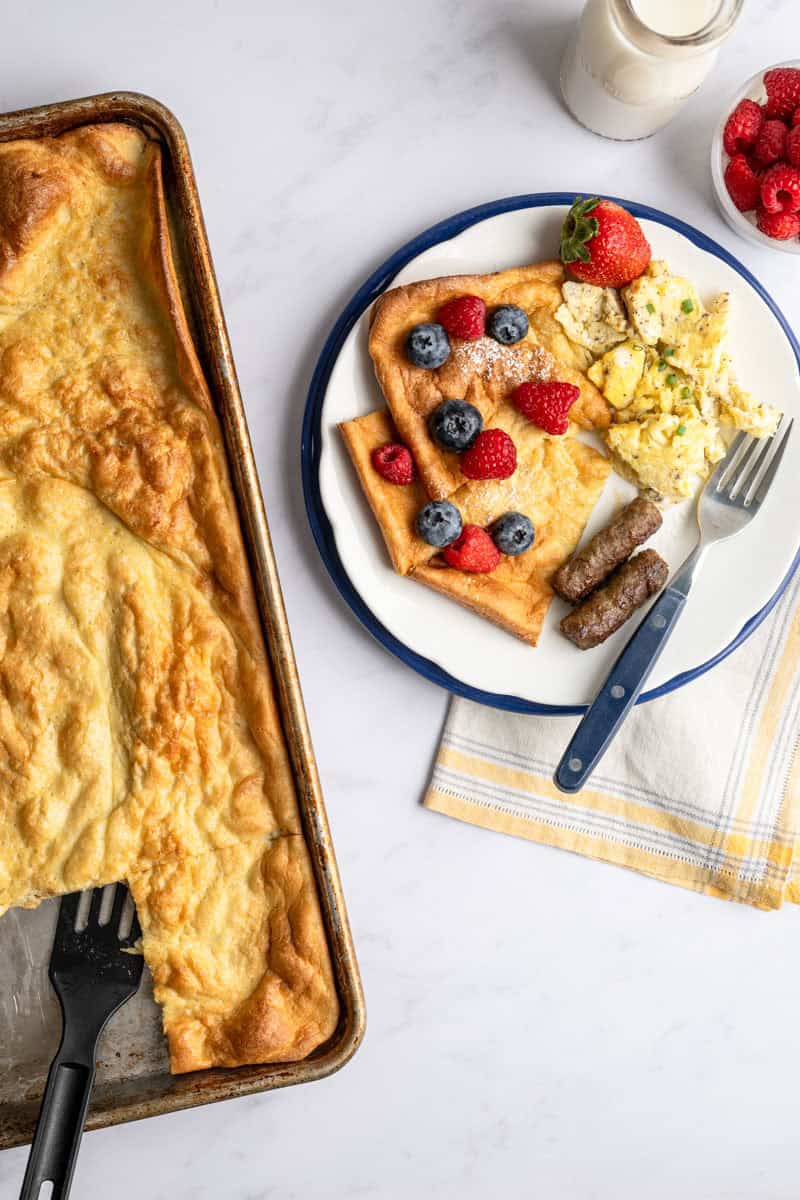
Kitchen safety first! Admire from a safe distance. Once done, remove from the oven and cut into square slices with a pizza cutter - this tip also works on waffles and French toast, which my kids consider one of my greatest contributions to humanity. Serve with your favorite toppings.
Also, please excuse my dirty oven and pizza stone. This oven makes many, many meals and doesn't get cleaned nearly enough. Just keeping it real, folks.
Tips and Tricks
Cool the melted butter before adding it to the eggs. This is not optional. Hot butter poured straight into whisked eggs will scramble them instantly. My daughter learned this the hard way and we had to start over. Let the butter cool for a few minutes before it goes anywhere near the bowl.
Use both softened butter and nonstick cooking spray on the pan. I have made this many, many times and this combo is the move. Together they create a surface that releases cleanly, fries up those crispy golden edges, and saves you from soaking your pan for the next week trying to scrub off stuck pancake. Three tablespoons feels like a lot. It is supposed to. Do both. Every time.
Let the batter rest. Ten minutes is all it needs. The flour absorbs the liquid, the batter thickens slightly, and the finished pancake has a better texture. Set a timer and walk away.
Cut it right away. Once it comes out of the oven, slice and serve immediately. The pancake will deflate as it cools. Still delicious either way, but the crispy edges at their peak are worth rushing a little.
Double the batch for a crowd. Two pans, same oven, done at the same time. I do the same thing when I make my gluten free overnight French toast casserole for holiday mornings - bake in bulk, feed everyone at once, minimal effort.
Ingredient Swaps
- Milk Options: Whole milk or 2% is ideal. Lactose-free milk is a great swap and keeps this recipe low FODMAP. Unsweetened almond milk works too, though the center will be a little less rich.
- Flour Options: All-purpose flour is the classic. For a gluten free version, Bob's Red Mill 1-to-1 in the blue bag works with the exact same measurement.
- Butter Options: Salted butter is what I always use. For a dairy free version, a plant-based butter substitute works well. The edges will still crisp up.
Special Diet Variations
Gluten Free Swedish Oven Pancakes: Use a gluten free 1-to-1 flour blend, I use Bob's Red Mill 1-to-1 in the same amount. This is the version I make every time now and my family has never once asked for the original.
Dairy Free Swedish Oven Pancakes: Use unsweetened almond milk or oat milk and a dairy free butter substitute. Same crispy edges, same tender center.
Low FODMAP Swedish Oven Pancakes: Use lactose-free milk and gluten free flour if wheat is a trigger for you. The rest of the ingredients are already low FODMAP friendly.
Savory Oven Pancake: This is actually how we start every Swedish oven pancake meal at our house. Skip the sugar, and right after it comes out of the oven, top it with diced ham, shredded cheddar, chopped green onion tops, and a dollop of sour cream. Adults first, sweet version for everyone after. It is a whole situation and we love it.
Pancake Toppings
There are no rules for how to top these. Everyone builds their own plate and nobody complains. That is the dream.
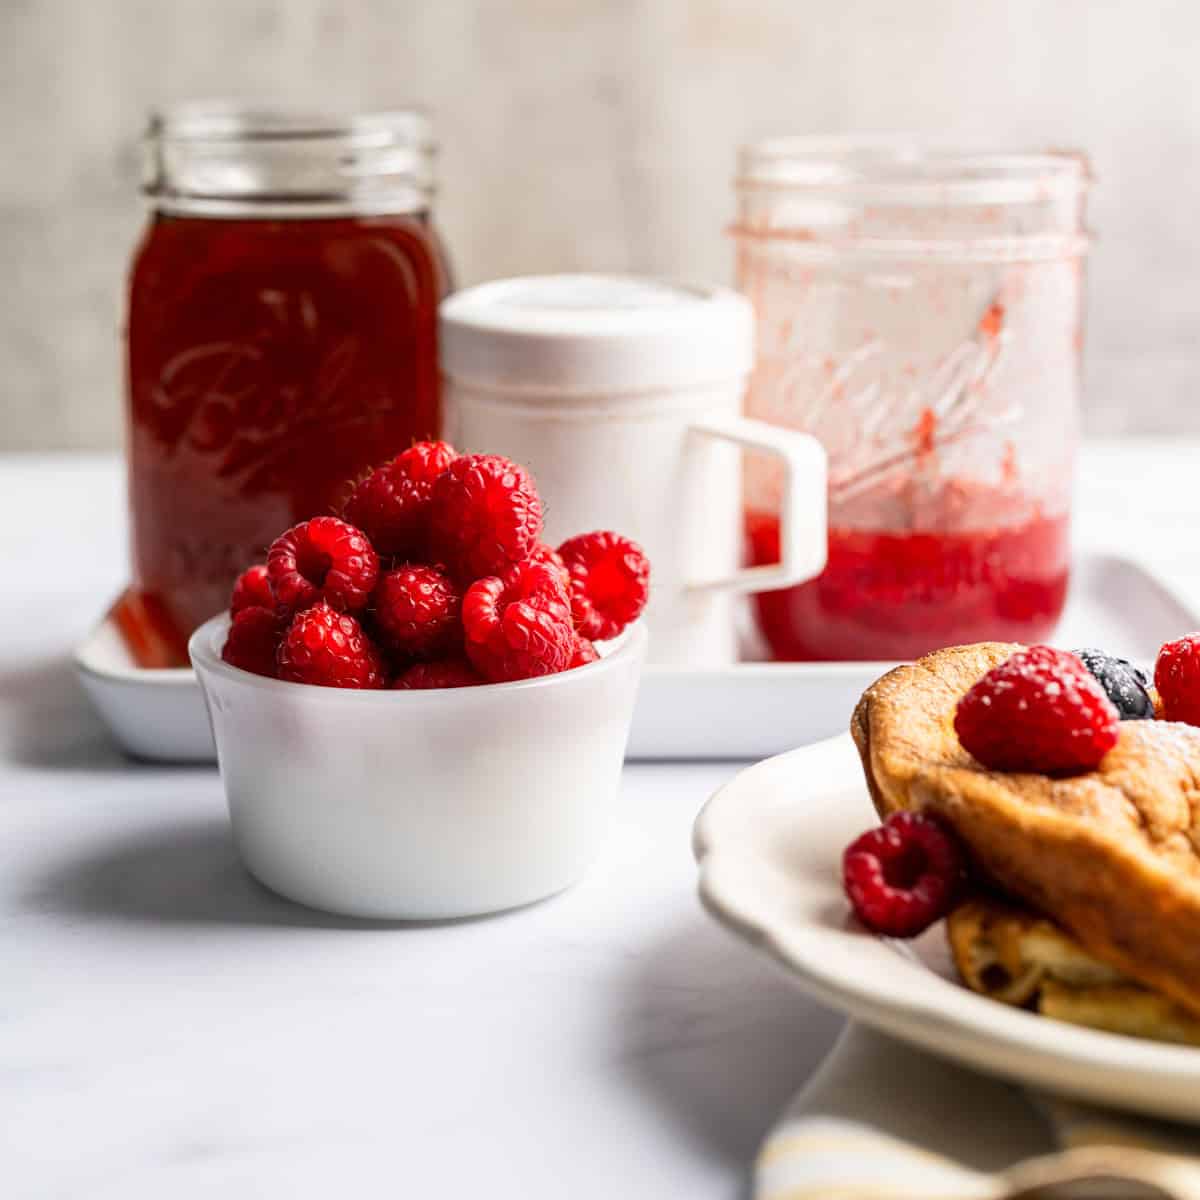
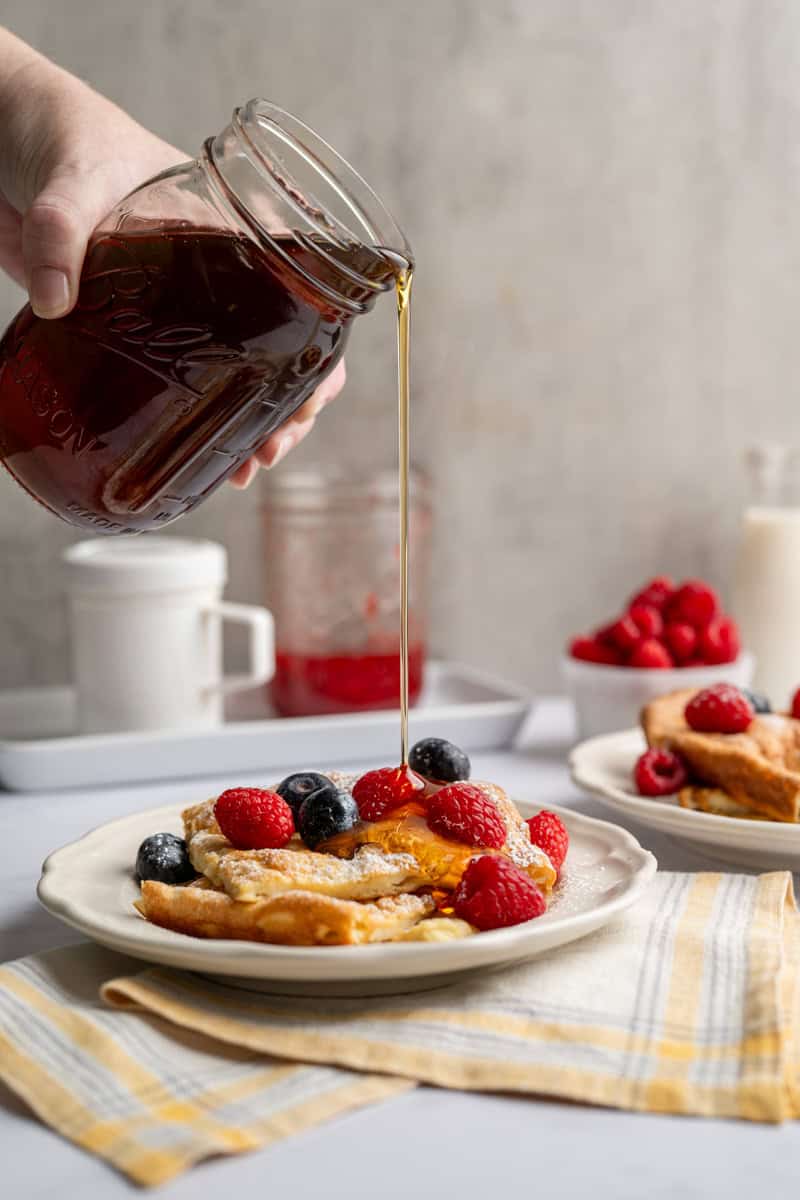
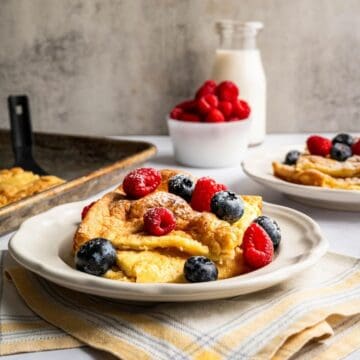
For the sweet version, we go fresh berries, strawberry jam, a spoonful of homemade strawberry sauce, or classic maple syrup. My personal plate is fresh berries, powdered sugar, and a drizzle of real maple syrup. Though I will admit I have been known to steal one straight from the pan with absolutely nothing on it. No regrets.
For the savory version, skip the sugar in the batter and top with diced ham, shredded cheddar, chopped green onion tops, and sour cream. Think of it as the appetizer round before the sweet version closes out the meal.
If you have a jar of low sugar strawberry freezer jam in the freezer, now is the time to pull it out. Spoon it onto a warm square and it melts right in.
For more breakfast ideas, browse all the breakfast recipes - plenty of options for every skill level and dietary need.
Storing and Reheating
Store: Keep leftovers in an airtight container in the refrigerator for up to four days.
Reheat: Microwave for 1-2 minutes or until warm. For crispier edges, reheat in a 350 degree F oven for 8-10 minutes or in the air fryer at 350 degrees F for 3-4 minutes.
Freeze: Cool completely, separate pieces with parchment paper, and freeze in a freezer-friendly zip-top bag for up to three months. Defrost overnight in the refrigerator and reheat from there. Future you will be grateful.
FAQs
Swedish oven pancakes bake on a sheet pan in the oven instead of cooking on a griddle. The higher egg-to-flour ratio creates a thin, tender pancake with a soft, custard-like center and crispy golden edges. No flipping, no batches, no cold pancakes waiting on a plate while everyone else already started eating.
It is Swedish for oven pancake.
Two things usually cause this. Not enough butter on the pan - three tablespoons is the right amount and reducing it will cost you the edges. The oven also needs to be fully preheated before the batter goes in. Give it the full time to heat up before you pour anything.
You can mix the batter the night before and store it covered in the refrigerator. Give it a quick whisk before pouring onto the pan. You can also bake them ahead and reheat, though fresh from the oven is always my first choice.
Very similar, but not exactly. A Dutch baby is baked in a cast iron skillet and puffs up dramatically in the center. This swedish oven pancake recipe bakes on a sheet pan, which makes it much easier to feed a larger group all at once. L
A standard half sheet pan is my go-to - roughly 13x18 inches with a rimmed edge to hold the batter. If you want a thicker, puffier result closer to a German pancake, a 9x13-inch pan should work in theory, though I have not personally tested that version.
Yes. Bob's Red Mill 1-to-1 Gluten Free Flour in the blue bag works in the exact same measurement. I make it this way every time and my family has never once asked for the original.
What To Serve With Swedish Oven Pancakes
These work on a busy weeknight just as well as a weekend brunch, which is one of the reasons they stay in our regular rotation. Homemade gluten free breakfast sausage is a great pairing and comes together fast on the stovetop while the pancake bakes. Same timeframe, zero extra effort. For a bigger spread, a pan of hash brown patty breakfast casserole alongside these will feed a crowd without a lot of extra stress. Both are regulars in our house and both get eaten down to nothing every time.
Love This Recipe?
Leave a ⭐⭐⭐⭐⭐ rating + comment. It helps so much, and we love hearing from everyone! Thank You -Venessa
Recipe
Swedish Oven Pancakes
Ingredients
- 4 large eggs
- 2 cups milk (Note 1)
- 2 tablespoons butter melted
- 1¼ cup flour (Note 2)
- 2 teaspoons white granulated sugar
- ¼ teaspoon sea salt
- 3 tablespoons softened butter for greasing the sheet pan
Instructions
- Preheat the oven to 400 degrees F.
- In a large mixing bowl, crack open the eggs and whisk until foamy.
- Add the milk and cooled melted butter. Whisk until combined.
- Add the flour, sugar, and salt. Whisk until combined and no lumps remain.
- Rest the batter for ten minutes.
- Grease a rimmed baking sheet generously with the softened butter and nonstick cooking spray. Use both - this is the key to clean release and crispy edges.
- Pour the batter onto the prepared pan and place in the preheated oven.
- Bake for 25-30 minutes or until golden brown. Remove from the oven, cut into squares with a pizza cutter, and serve immediately with your favorite toppings.

Leave a Reply