

Baked coconut rice started because I wanted something flavorful enough to stand on its own but not so bold it would fight with the shrimp I was making for dinner. I burned the roof of my mouth eating it straight out of the oven because patience is not always my strong suit, folks. My son comes back for a full bowl AFTER dinner is already done, which is honestly the only review that matters in my house.
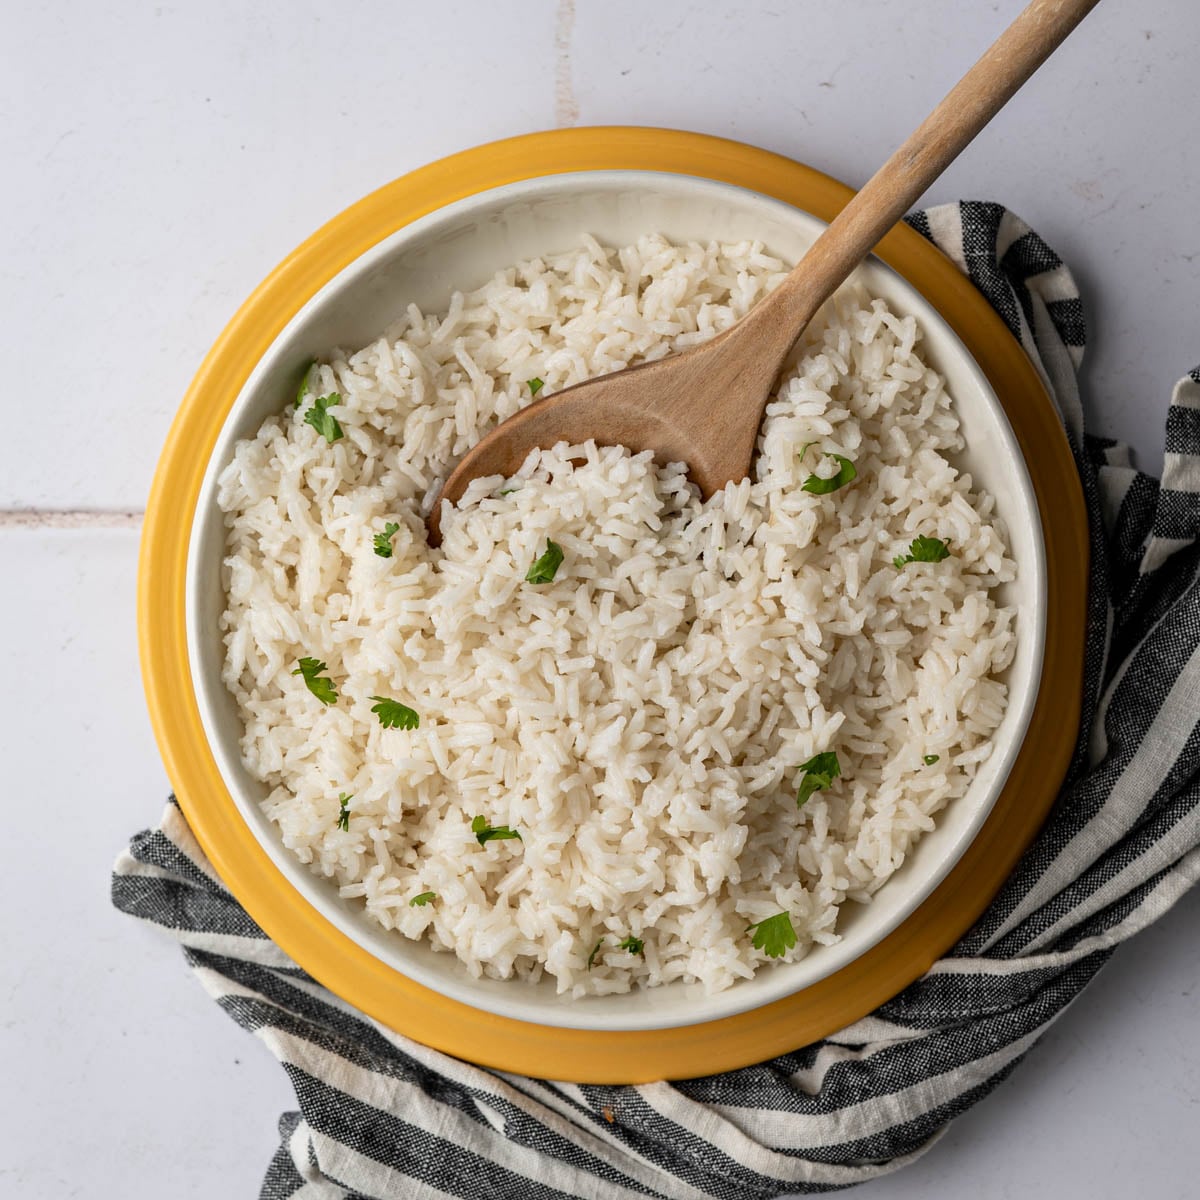
One thing worth knowing: full-fat unsweetened coconut milk is the move here. I tested light coconut milk and the coconut flavor was dull and flat. Full-fat gives you that creamy, coconut-y result without needing to add any extra oil. The water ratio is what makes it actually cook properly, so don't skip it. This rice pairs beautifully alongside my Apricot Curry Chicken if you want a full meal that comes together without much fuss.
Jump to:
Why You'll Love This Recipe
- Only THREE ingredients
- Hands-off cooking - the oven does all the work
- Fluffy, not mushy rice every single time
- Dairy free, gluten free, low FODMAP, and vegan - talk about a crowd pleaser!
- Works as a side dish for so many meals
Why Bake Rice Instead of Using the Stovetop?
Perfect stovetop rice has eluded me for years. Growing up we ALWAYS baked rice in the oven. I didn't even know making rice on the stovetop was a thing for years and years. Then I tried it. It was a disaster.
So I bought a rice cooker. Which was great, until it wasn't. Let's just say, make sure you clean it. Often. Ask me how I know.
But baked rice? It comes out fluffy every single time. Ole' reliable. The oven creates steady, even heat all the way around the dish - no hot spots, no scorched bottoms, no lifting the lid too early and ruining everything. You seal it tight with foil, set a timer, and walk away. The rice does not care if you forgot about it for five extra minutes.
Stovetop rice is the opposite. It needs attention, the right burner temp, and perfect timing. And coconut milk on the stovetop? It can scorch fast if the heat is even slightly too high. The oven removes all of that guesswork. Once you try baked rice, the stovetop version is going to feel like unnecessary stress. The end.
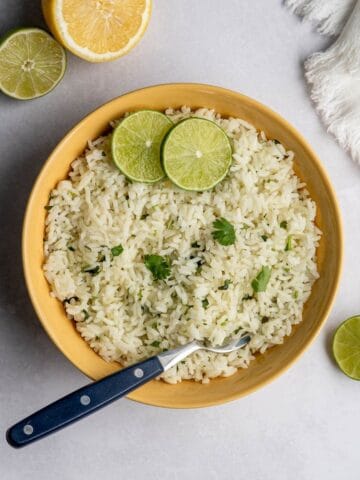
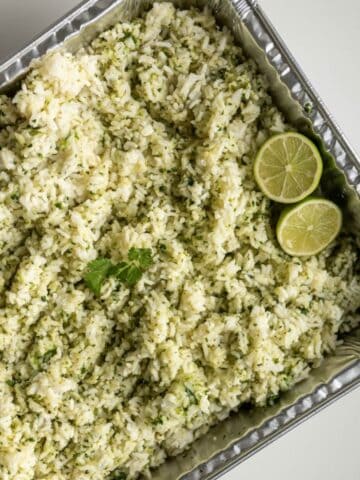
If you love the baked method as much as I do, my Baked Cilantro Lime Rice uses the exact same approach - just a completely different flavor direction. So good.
What You'll Need
This oven baked coconut rice comes together with just four simple ingredients - most of which you may already have on hand.
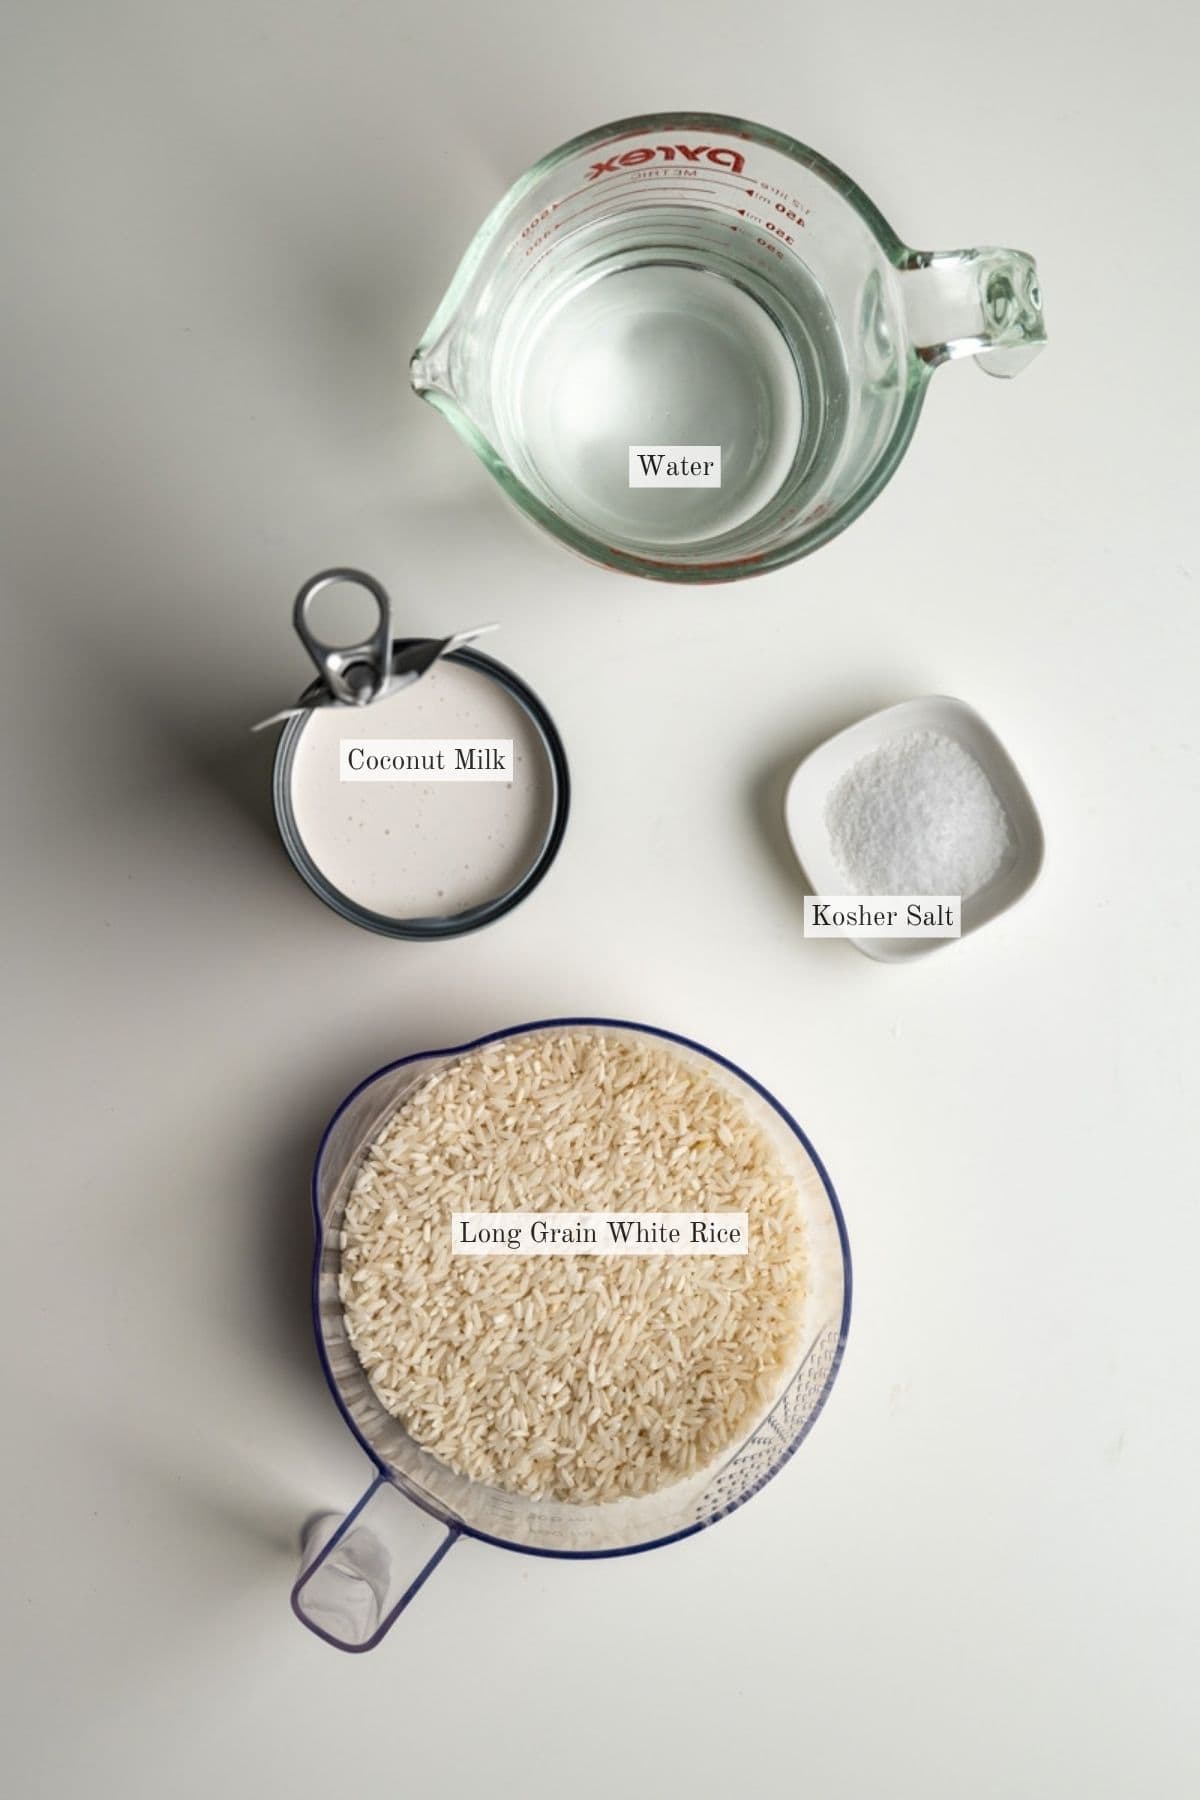
- Long Grain White Rice - This is the rice you want for baked coconut rice. It absorbs liquid evenly and comes out fluffy, not sticky.
- Full-Fat Unsweetened Coconut Milk - Use a 15-ounce can and shake it well before opening. The fat and liquid separate in the can and need to be fully combined before using. Look for it in the international or baking aisle at your grocery store - usually near the Thai ingredients.
- Water - Combined with the coconut milk to reach a total of 4 cups of liquid. Do not skip the water. It is what makes the ratio work.
- Kosher Salt - Just one teaspoon. It balances the natural sweetness of the coconut milk beautifully.
See the recipe card for the exact measurements and complete instructions.
Step-By-Step Instructions
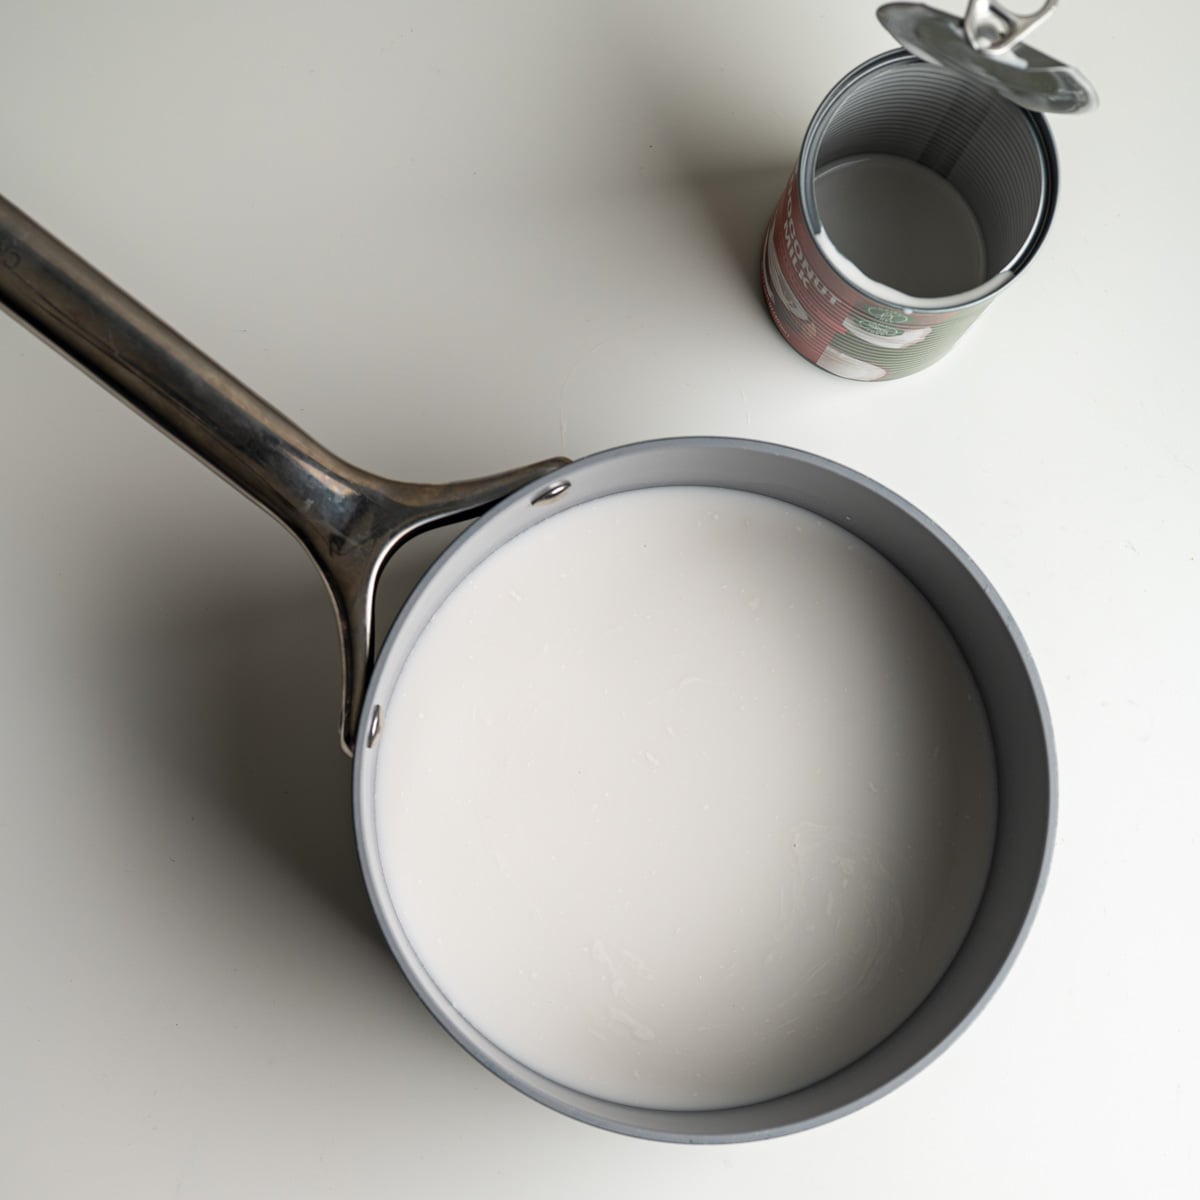
Step 1: Get the oven and liquid ready Preheat the oven to 350 degrees F. Combine the coconut milk and water in a saucepan and bring to a full, rolling boil. This step matters. If the liquid is not fully boiling when it goes over the rice, the rice will not cook evenly. Do not rush it. Not sure if it is boiling enough? You want big, active bubbles across the whole surface - not just around the edges.
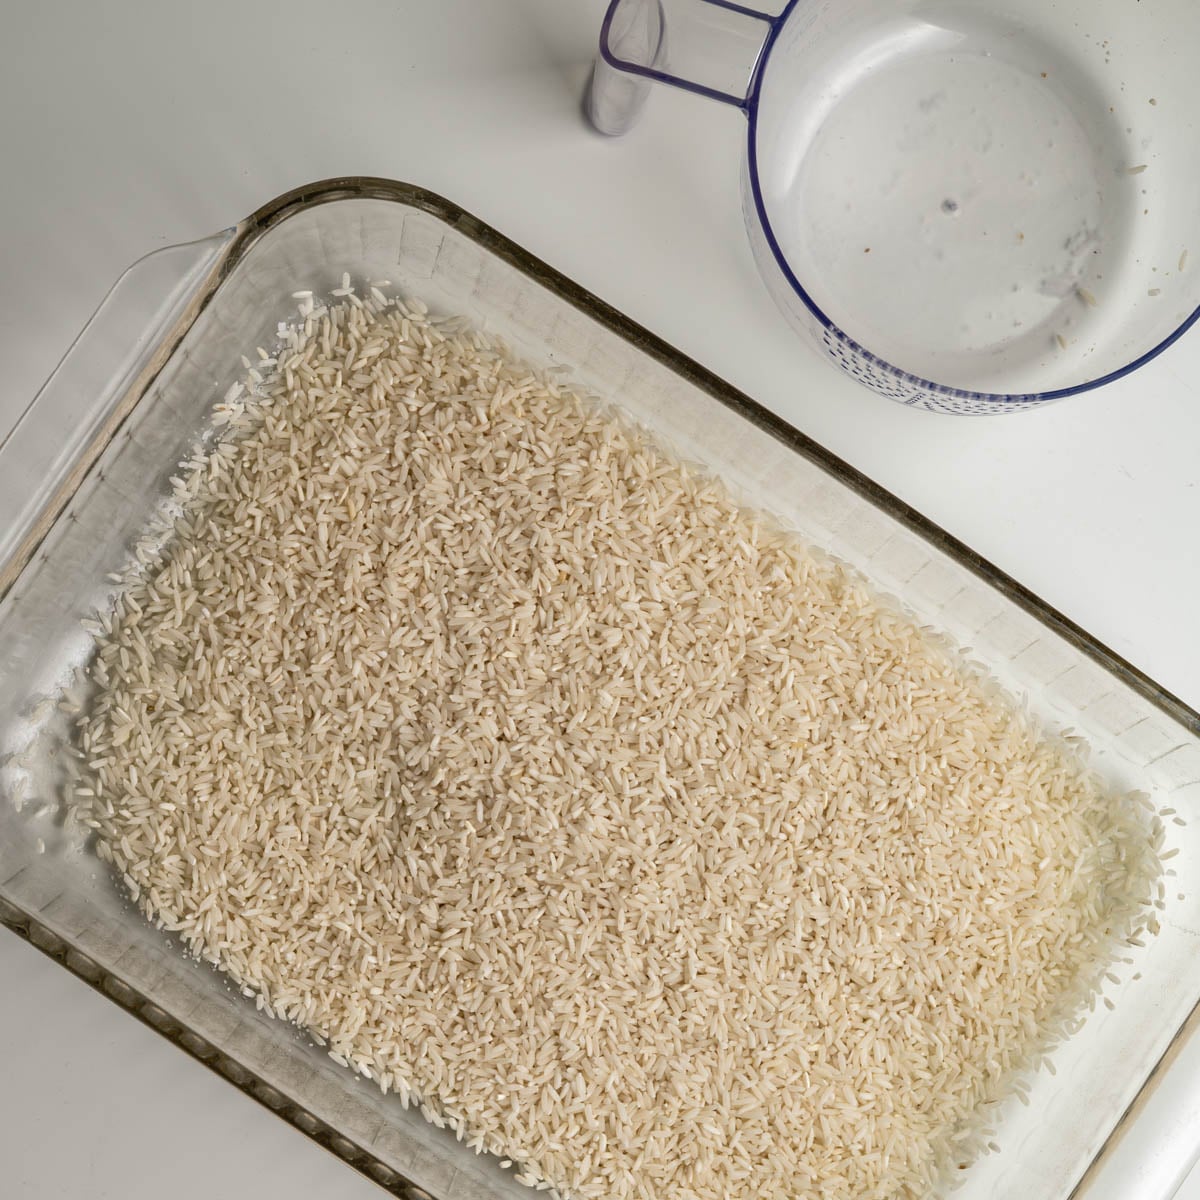
Step 2: Build and bake Grease a 9x13-inch baking dish with nonstick cooking spray or a thin layer of softened butter. Add the rice in an even, flat layer across the bottom of the dish. Pour the boiling coconut milk mixture over the rice and stir. Cover tightly with aluminum foil and press the edges down firmly. Any gaps mean escaping steam, and escaping steam means uneven rice. Bake for 40 minutes or until the liquid is fully absorbed and the rice is tender.
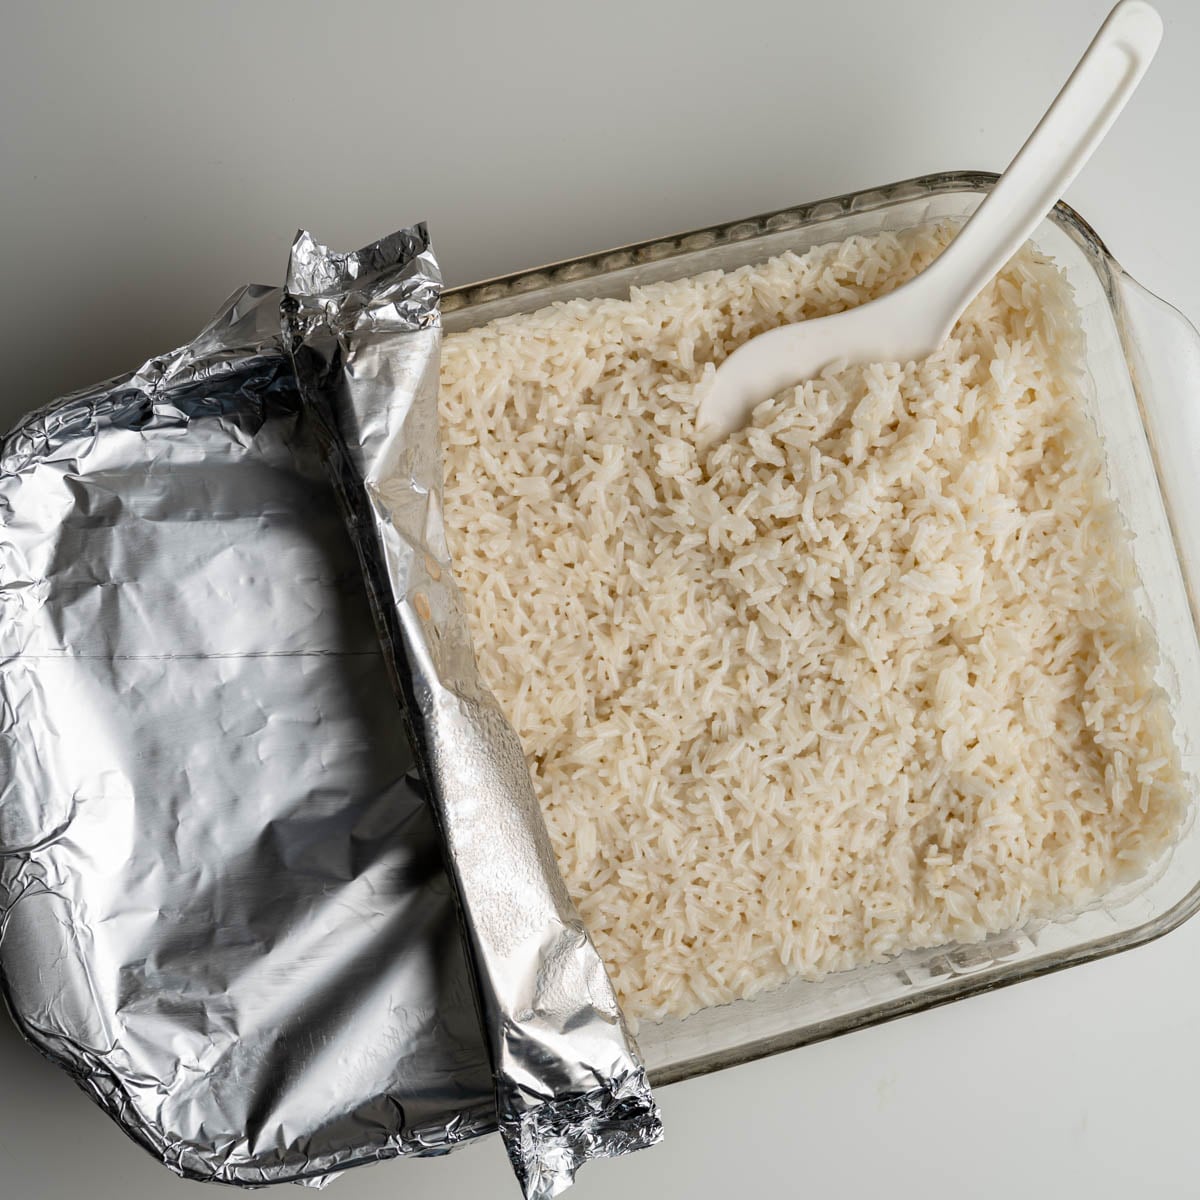
Step 3: Rest and fluff Remove from the oven and keep the foil on for 5 more minutes. The steam trapped under the foil finishes cooking the top layer of rice and helps everything absorb evenly. Pull it early and you may end up with a wet, uneven texture. Remove the foil, fluff gently with a rice paddle or fork, and serve immediately.
Add-Ins
One of the best things about coconut rice is how well it plays with other flavors. Once the rice is fluffed and ready, try stirring in any of these:
- Fresh Pineapple - Fold in a half cup of diced fresh pineapple for a tropical, sweet contrast. It pairs especially well with pork or shrimp.
- Toasted Coconut Flakes - Sprinkle on top for extra coconut flavor and a little crunch. Toast them in a dry skillet over medium heat for just a couple of minutes - watch them closely, they go from golden to burned fast.
- Fresh Lime Juice - A squeeze right before serving brightens everything up. Start with half a lime and add more to taste.
- Fresh Cilantro - Stir in a small handful of chopped cilantro for a fresh, herby finish. If cilantro tastes like soap to you, fresh parsley works too.
- Toasted Sesame Seeds - Adds a subtle nutty flavor and a little visual flair. Great when you are serving this rice alongside anything Asian-inspired.
Mix and match! Fresh pineapple plus toasted coconut flakes plus a squeeze of lime is a combination worth trying. You have been warned.
Tips and Tricks
Shake the can! Full-fat coconut milk separates in the can. Give it a good shake before opening so the fat and liquid are fully combined. It makes a real difference in flavor.
Boiling is non-negotiable. The liquid must be at a full, rolling boil before it goes into the baking dish. Warm liquid is not enough. The rice needs that heat to cook properly from the start.
Seal the foil tightly. Press the edges down firmly around the rim of the dish. Steam escaping means uneven rice. Take an extra second to make sure it is sealed all the way around.
Don't peek. Keep the foil on during the full 40-minute bake and the 5-minute rest. Every time you lift the foil, steam escapes and your rice pays the price.
Fluff gently. Use a fork or rice paddle and fluff with a light hand. This keeps the rice fluffy instead of clumped and gummy.
Let it rest. Five minutes with the foil on after baking is not optional. That resting time is what takes the rice from almost done to fully done.
Looking for more side dish recipes to pair with weeknight dinners? There are plenty of easy, family-friendly options to explore!
Special Diet Variations
This rice is a rare recipe that genuinely works for almost everyone at the table without any modifications.
Dairy Free: Already dairy free as written. Use nonstick cooking spray instead of butter when greasing the pan and you are good to go.
Gluten Free: Naturally gluten free with no swaps needed.
Vegan: This recipe is completely vegan. No animal products anywhere.
Low FODMAP: Canned coconut milk is tested safe at half a cup or 120 grams per meal according to the Monash University Food App. Stick to the recommended serving size and adjust based on your own tolerance. As always, follow your gut. My Mexican Rice is another naturally low FODMAP rice side dish that the whole family loves - not spicy, just really flavorful.
Storing and Reheating
Store: Keep leftover oven baked coconut rice in an airtight container in the refrigerator for up to 4 days.
Reheat: Place a serving in a microwave-safe bowl. Add a small splash of water or coconut milk. Cover and heat in 30-second intervals until warm. The extra liquid keeps it from drying out.
Freeze: Cooled coconut rice can be frozen in a freezer-friendly container or zip-top bag for up to 3 months. Defrost overnight in the refrigerator before reheating. Add a splash of liquid when reheating to bring the texture back.
FAQs
You can, but the coconut flavor will be noticeably lighter and a bit flat. Full-fat coconut milk is what gives this rice its rich, slightly creamy taste. It is worth using the full-fat version.
Long grain white rice is the way to go. It absorbs the liquid evenly and comes out fluffy every time. Short grain or medium grain rice has more starch and can turn out stickier or mushier with this baked method.
The two most common reasons are liquid that was not at a full boil before adding it to the dish, or foil that was not sealed tightly enough and let steam escape. Both of those steps are critical.
A single batch already fills a 9x13 dish, so doubling would require two pans. The bake time stays the same.
No. The coconut flavor is subtle and savory, not dessert-sweet. The unsweetened coconut milk and the salt keep it balanced. It pairs well with both savory and mildly sweet dishes.
Yes! Bake it earlier in the day, store it covered in the refrigerator, and reheat with a splash of coconut milk or water before serving. It holds up well.
I have not tried it, but if you keep the ratios the same, it should work. It will just be sweeter than using the unsweetened canned coconut milk.
What To Serve With Baked Coconut Rice
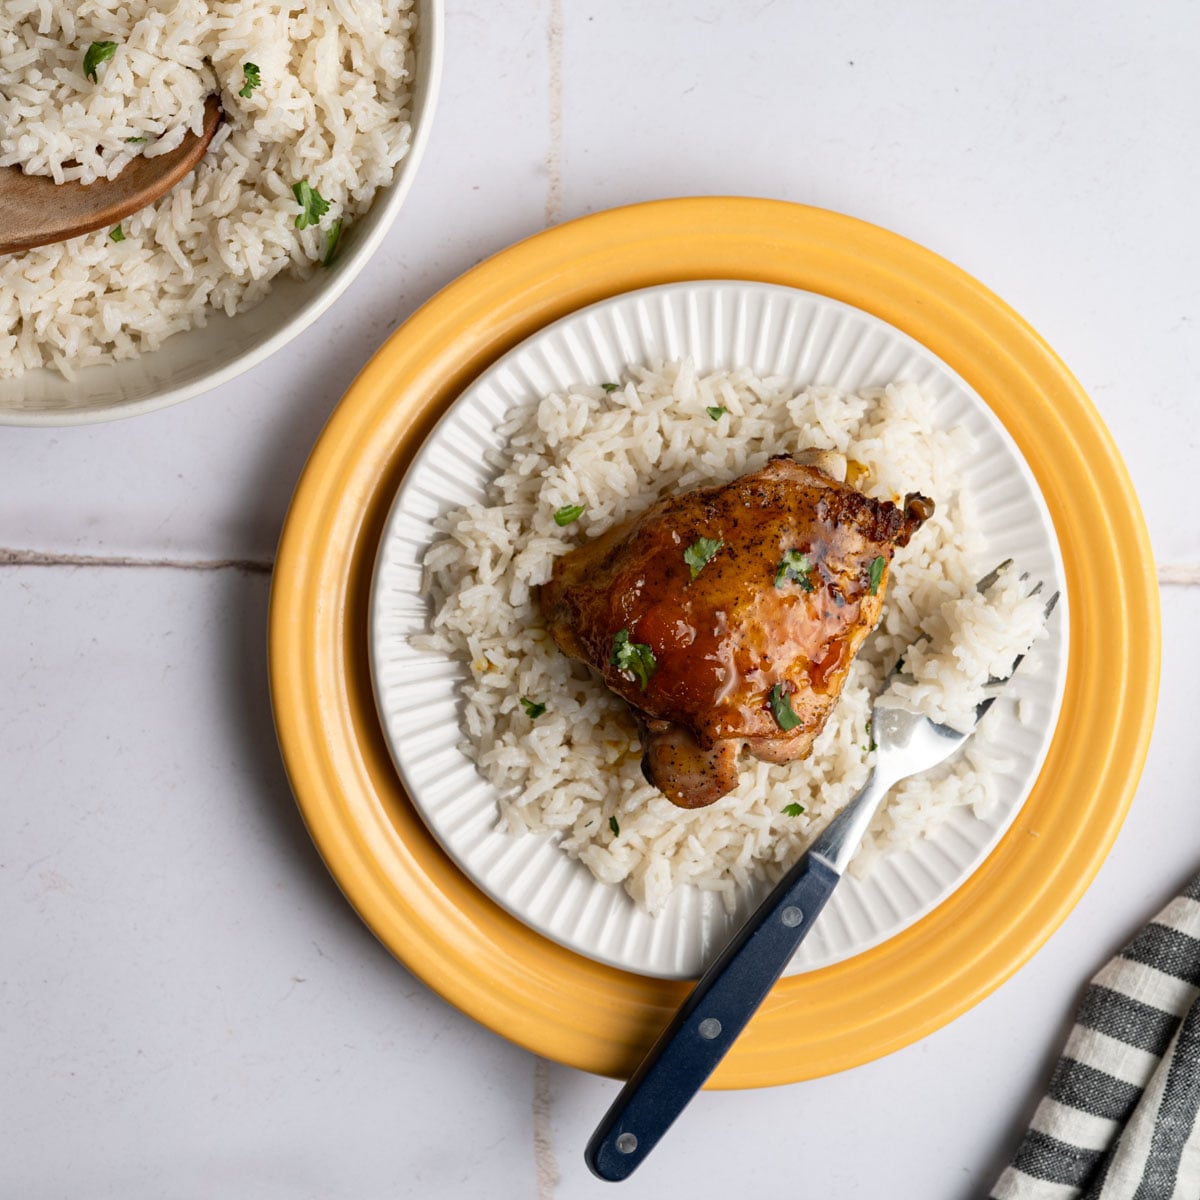
This rice works alongside so many proteins. Try it with Baked Sweet and Sour Chicken - the tangy sauce and the coconut rice are made for each other. It also works beautifully under anything with a glaze or a saucy finish since the rice soaks everything up.
A drizzle of Low FODMAP Stir Fry Sauce straight over the top turns a bowl of coconut rice into a quick, satisfying lunch. My teens will eat it plain with a little extra salt and call it dinner, which honestly tracks.
More Loveable Rice Recipes
Love This Recipe?
Leave a ⭐⭐⭐⭐⭐ rating + comment. It helps so much, and we love hearing from everyone! Thank You -Venessa
Recipe
Baked Coconut Rice
Ingredients
- 2 cups long grain white rice
- 15 ounces can full-fat unsweetened coconut milk shaken (Note 1)
- Water - enough to bring the total liquid coconut milk plus water to 4 cups
- 1 teaspoon kosher salt
Instructions
- Preheat the oven to 350 degrees F.
- Combine the coconut milk and water in a saucepan. Bring to a full, rolling boil.
- Grease a 9x13-inch baking dish with nonstick cooking spray. Add the rice in an even layer.
- Pour the boiling liquid over the rice and stir. Cover tightly with aluminum foil, pressing the edges down to seal completely.
- Bake for 40 minutes or until liquid is absorbed and rice is tender.
- Remove from the oven. Keep the foil on and rest for 5 minutes.
- Remove the foil, fluff gently with a fork or rice paddle, and serve immediately.
Notes
- The liquid must be at a full, rolling boil before going over the rice. Big, active bubbles across the whole surface - not just around the edges.
- Seal the foil tightly. Any escaping steam means uneven rice.
- Do not lift the foil during baking or the 5-minute rest.
- Leftovers keep in the refrigerator for up to 4 days. Reheat with a splash of water or coconut milk.
- To freeze: cool completely, store in a freezer-friendly container for up to 3 months. Defrost overnight before reheating.


Leave a Reply